![]() +1 929-458-6213
+1 929-458-6213
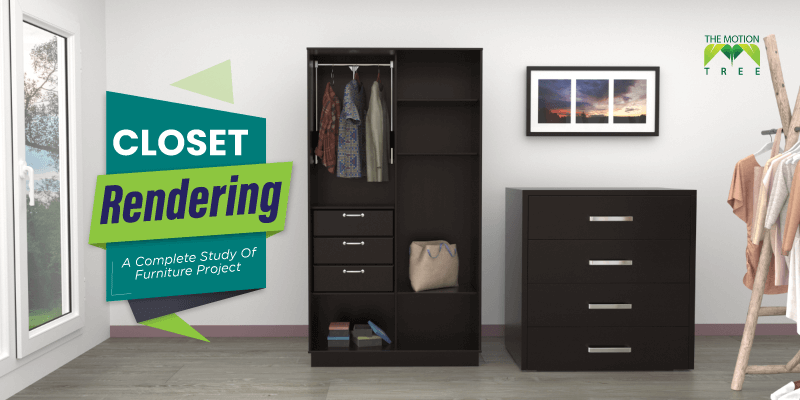
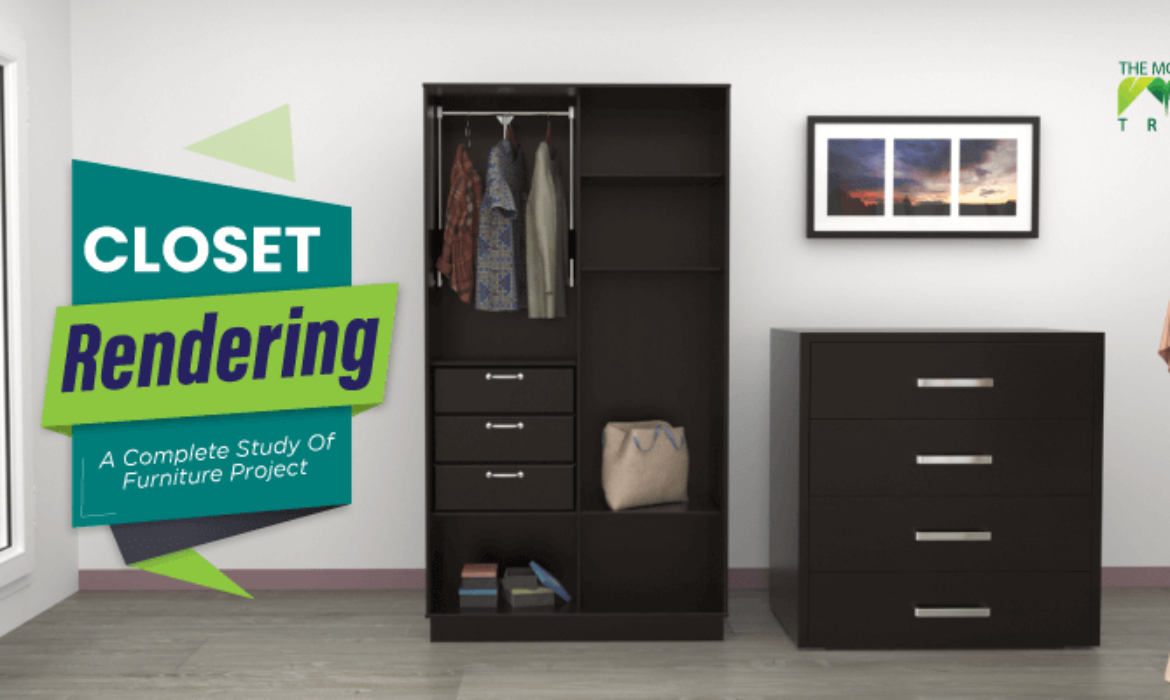
Nowadays, the furniture designing world is experiencing transformative shifts, thanks to advanced 3D furniture rendering. It is an excellent option for visual marketing for those who are engaged in the manufacturing and designing of furniture.
Following the way, The Motion Tree comes with all that you may need in 3D furniture rendering. Our 3D furniture rendering services provide you with top-notch 3D furniture rendering, texturing and modeling facilities. No doubt, here you can visualize your furniture concept in a great and friendly environment.
However, want to know in detail the process of this interior design revolution- 3D rendering? Then let us take the closet rendering as an example and have a complete study of this furniture rendering process.
So, keep on reading!
Table of Contents
ToggleStep 1: Quoting
The process of closet rendering starts with quoting.
To understand the amount of work or for the clients to get an idea about our services, we offer free quoting to them on a request basis.
It helps the clients to understand what type of closet rendering they will have later on.
To start, our clients need to fill up the form and provide us with some basic information.
The information may include the basic plan of the closet rendering, possible design sketches of the closet, time frames, or the direction of the virtual marketing where our client is going to use the rendered images.
Step 2: Gathering Information About The Project And Finalizing Prices
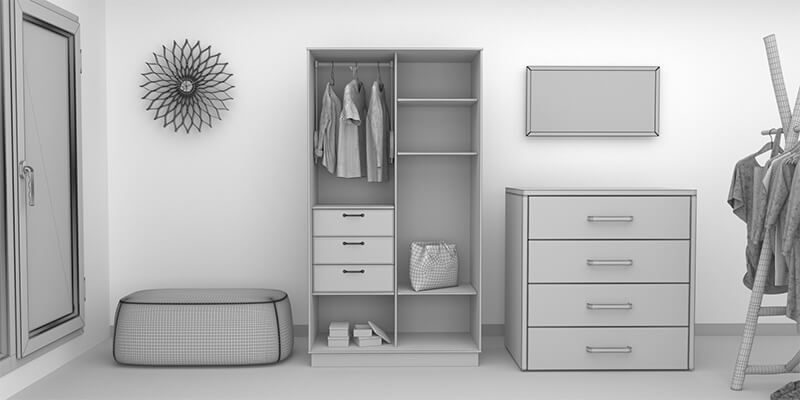
Now the process of closet rendering is carried on by gathering all the information about the project.
You know, it is crucial as providing much data upfront about the closet rendering reduces the chances of revision and thus minimizes the cost of the closet project.
Once the customer agrees with the offers of our company, the next step is to provide us with all the information and their requirements for the project.
They add all the materials in briefs like closet drafts, references, photos, or texture samples.
Moreover, the clients explained the technical description to our 3D artist including how they want to have the project done.
Before finalizing the closet rendering project, the team will also assist you with the cost matters.
The clients get all the assistance from our team to plan appropriately about the project or will get suggestions on where to cut down the corners!
Step 3: Creating A 3D Model Of The Closet
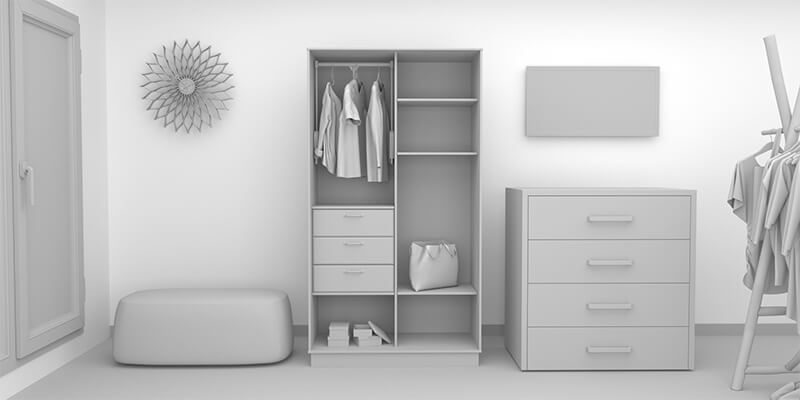
After getting all the information and finalizing everything, the expert 3D artist team gets into the task.
They first develop the concept of the closet rendering in their mind. The concept, of course, is tailored to the requirements provided by our clients.
Now it is time to visualize the concept in the software specialized for 3D rendering.
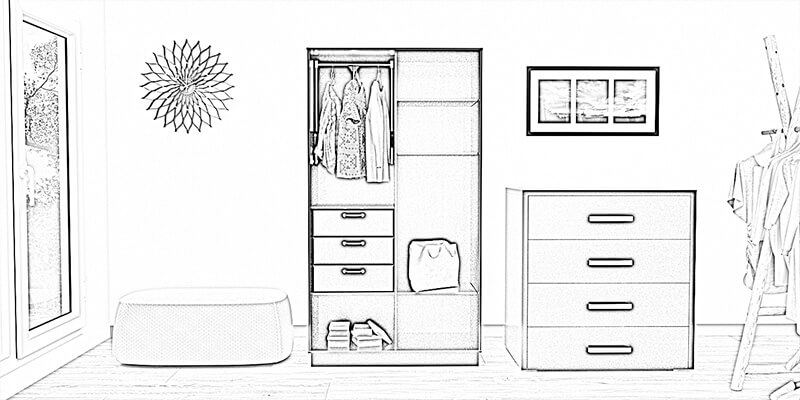
The team will develop the 3D closet model which is nothing but a pile of polygons.
After that, the camera angle is adjusted to highlight the closet from the best point of view.
At this stage, our clients are free to make any corrections or suggestions about the model if they want.
Step 4: Adding The Materials And Texture
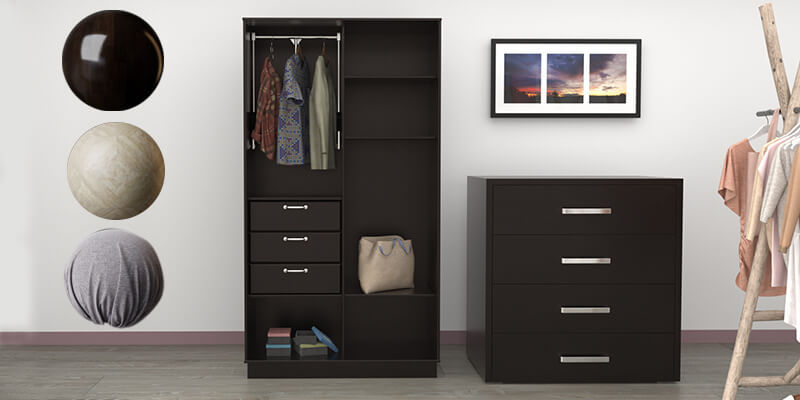
The 3D artist moves ahead to make the 3D model of the closet as realistic as possible.
It is about adding materials and textures to the 3D model of the closet.
The stage is done to mimic the actual look and feel of the closet caring after every detail. The team uses professional software to do the task.
At last, the 3D artist finalizes the additional details before moving to the other stages of the closet rendering project.
Step 5: 3D Lifestyle Rendering
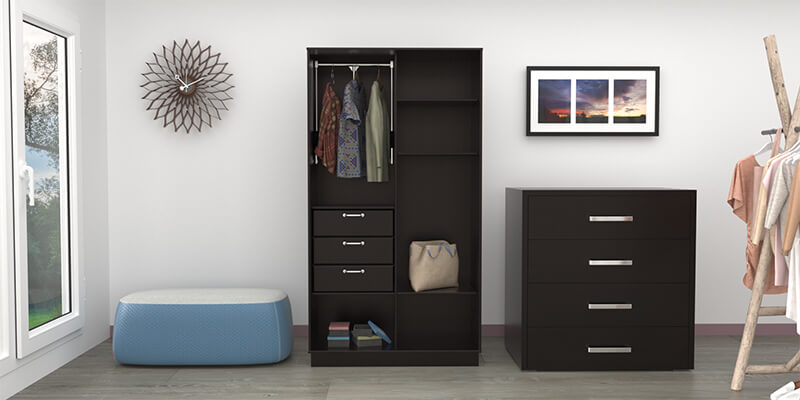
You know, an expert 3D artist always focuses on both the furniture setting and the furniture itself while rendering. It is no different in The Motion Tree also.
When creating 3D closet images, it is crucial to ensure the closet is the main highlight in a whole natural, stunning, and appealing setting.
Moreover, through the lifestyle rendering it is also seen how the closet will look in the real life setting. The customers can also get an idea of how the closet will fit in their homes.
Having these both important points in mind, the 3D artist set a 3D scene in the closet rendering project with a careful balance.
The careful balance is like a delicate art form and our 3D artists are the experts of it!
Step 6: Deciding The Sources Of Lighting
Once the 3D model of the closet is created and the lifestyle rendering is established, the crucial step of the closet rendering is setting up and adjusting the lighting.
In furniture rendering, lighting plays a crucial role as it has the ability to enhance or detract from the overall image.
So, of course, our team pays careful consideration to it.
To get the emotionally charged and impressive closet project, the 3D artist offers different lighting schemes in the 3D model room set from which you can choose.
The choice will be all of our clients what lightening effects they want to have in the project.
Step 7: Having Panoramic View
And finally, the 3D artist adds a panoramic view to the closet rendering project if our clients want.
To do so, the artists take the picture of the room from different angles. Then they stitch all the photos together to have a seamless panoramic view.
It is beneficial for both the manufacturer and customer of the online platforms. It is because the customers can virtually decorate the room by adding, removing, or rearranging furniture 3D models.
And as for the manufacturer? They can also use virtual tours on their website or the YouTube channels of their brands through it.
Step 8: Adding Extra Beautifiers If Needed
After following all the stages mentioned above, the 3D closet rendering process is almost done to move ahead to the final production.
But adding more beautifiers or decors will not do any harm, right?
It will enhance visual storytelling of the closet scene context as well as will solidify it.
Thinking of it, the expert 3D artist will add extra beautifiers which will be suitable for the closet rendering project.
Placing all the elements in their place, the 3D designers carefully check the whole setup of the closet rendering to ensure everything in it meets up the desired standard.
Step 9: Adjusting The Colors
Adjusting the colors is the last stage of our closet rendering project to get the finished look of our artwork.
You know the colors adjustment has all the influence to change the vibe of the closet rendering image.
That is why the 3D artist makes the necessary color adjustments to have as realistic a look as possible.
For that extra impressive and realistic look that the clients may want, the expert artists of our 3D artist team leverage suitable photo editing software.
Getting the best and satisfactory results is the main focus of ours!
Step 10: Revision And Approval
The closet rendering project is almost in its finishing stage.
The expert team revises the whole project with the expert software, specialized for rendering.
After revision, the project is sent to the customers for feedback and as well as for approval.
The artists will make necessary changes based on the customer’s comment and approval. The process is done until the satisfied results are not obtained.
Let us be frank here!
All the projects, not specifically the closet project, done by our 3D artist do not need much more updating.
They are very careful with every detail from the very beginning to make the project smooth and seamless.
Step 11: Complete Delivery
Our 3D artist team is all done with the closet project. Now they just make the final adjustments to the rendered image of the closet.
The experts prepare the closet rendered image in the software for the use of the clients and make the final delivery.
We are all done!
Lastly, in The Motion Tree, we try our all to offer you the best in all aspects. We believe any other service will serve you not any better than us.
So, of course, the services of The Motion Tree are great choices that you can choose without any second thought.
It is not just a hunch of words. You will get to know it right once you try our services yourself! Just contact us and we will get the ball rolling!
Related Posts

