We Provide
Adding 3D content to product pages can increase conversion rates by up to 94%, because interactive models engage shoppers and reduce uncertainty. Most 3D models look fine in isolation but fail the moment you try to reuse them. They fall apart in rendering, slow down your pipelines, or need to be rebuilt for every new case. At The Motion Tree, we create structured, production-ready 3D design models that are designed to move smoothly from concept to marketing, ecommerce, and visualization without friction.
Good models look nice, but great models always actually work.
When shoppers see a 3D model, 82% interact with it, exploring products from different angles before buying. If you already have sketches, CAD files, references, or even rough ideas, we can convert them into clean, scalable 3D models. These models will be built only for you and your modern digital use.
Tell us what you want to build. We’ll structure it professionally.
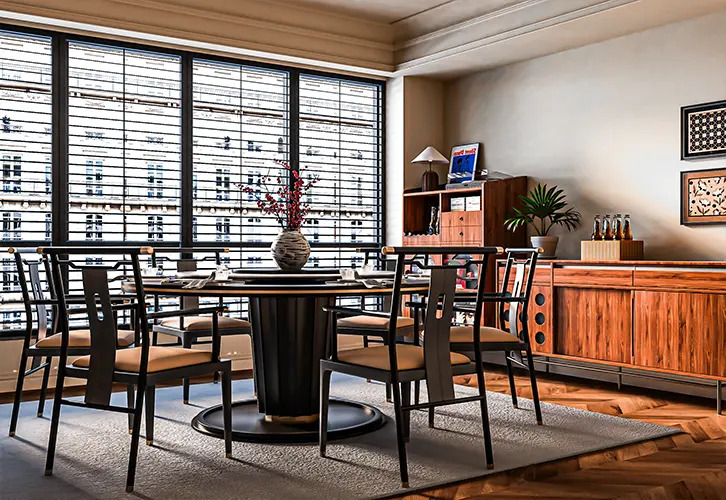
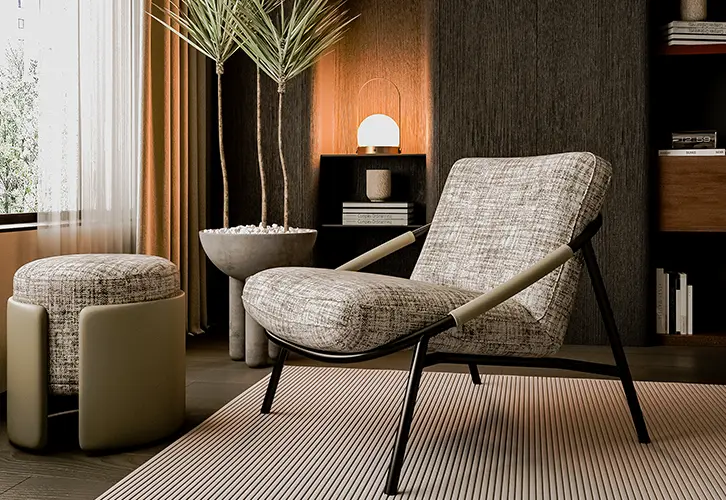
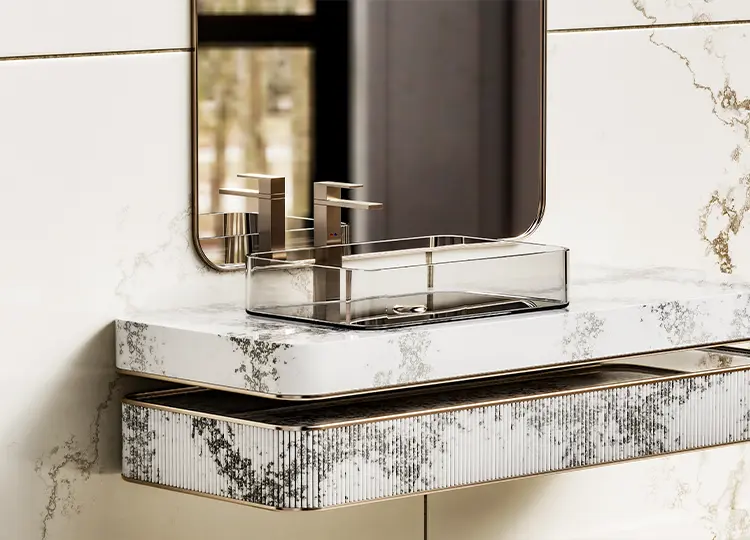
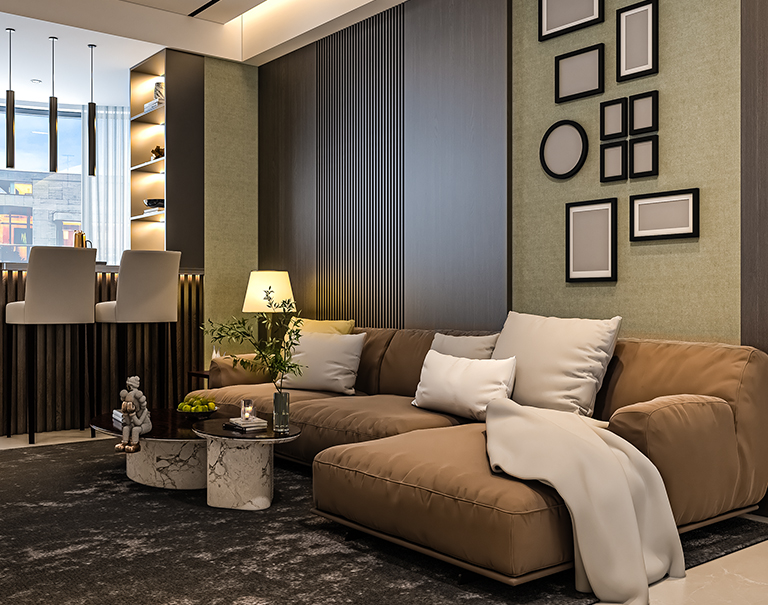
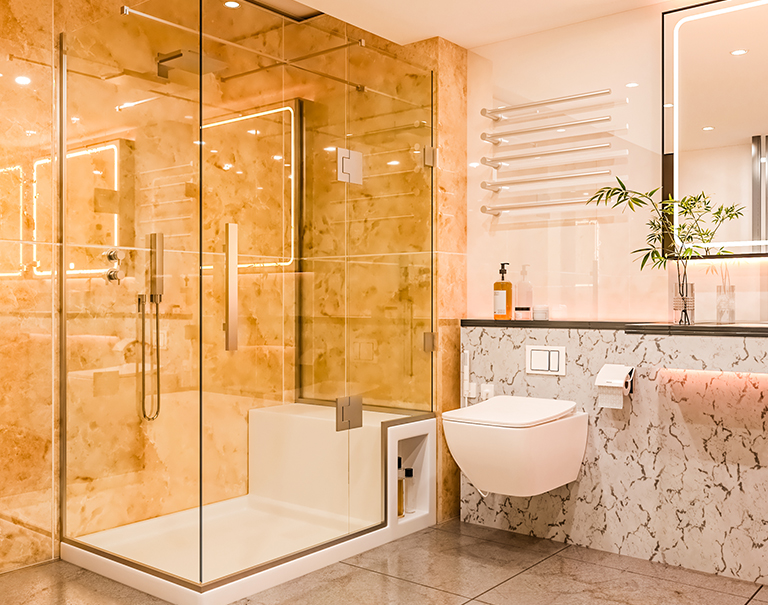
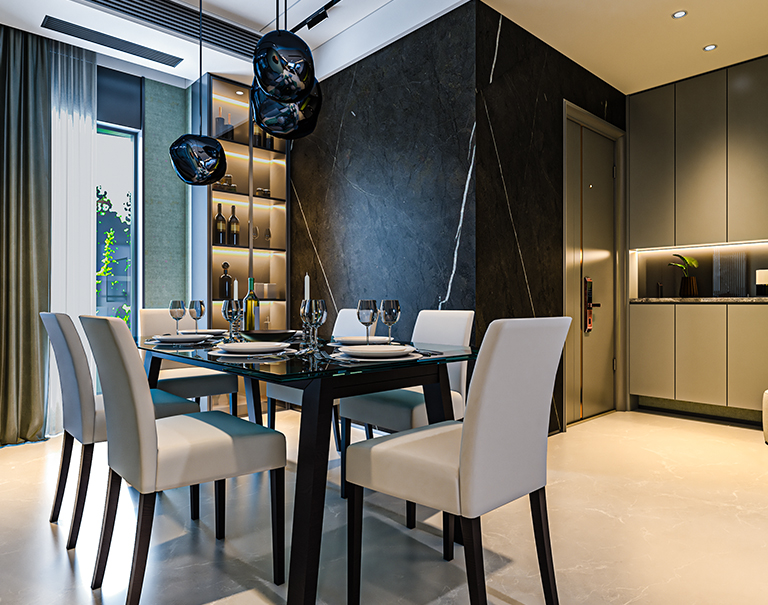
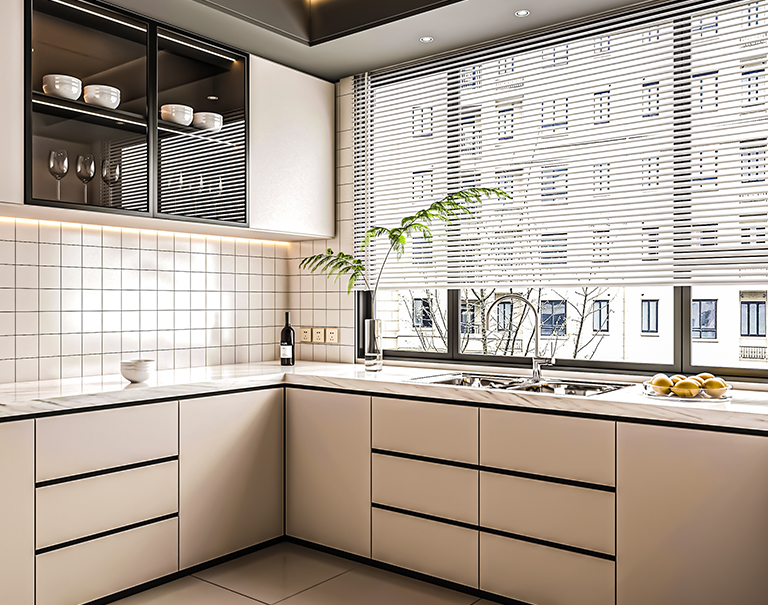


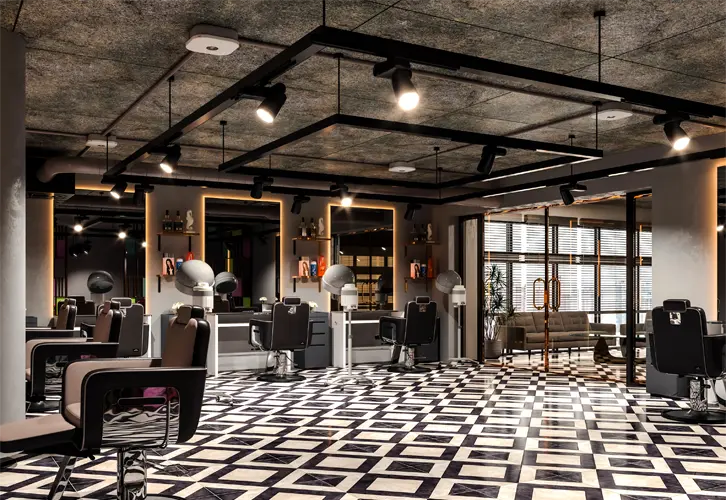


We structure every model in such a way that it can move seamlessly between rendering, animation, ecommerce, and future variations.
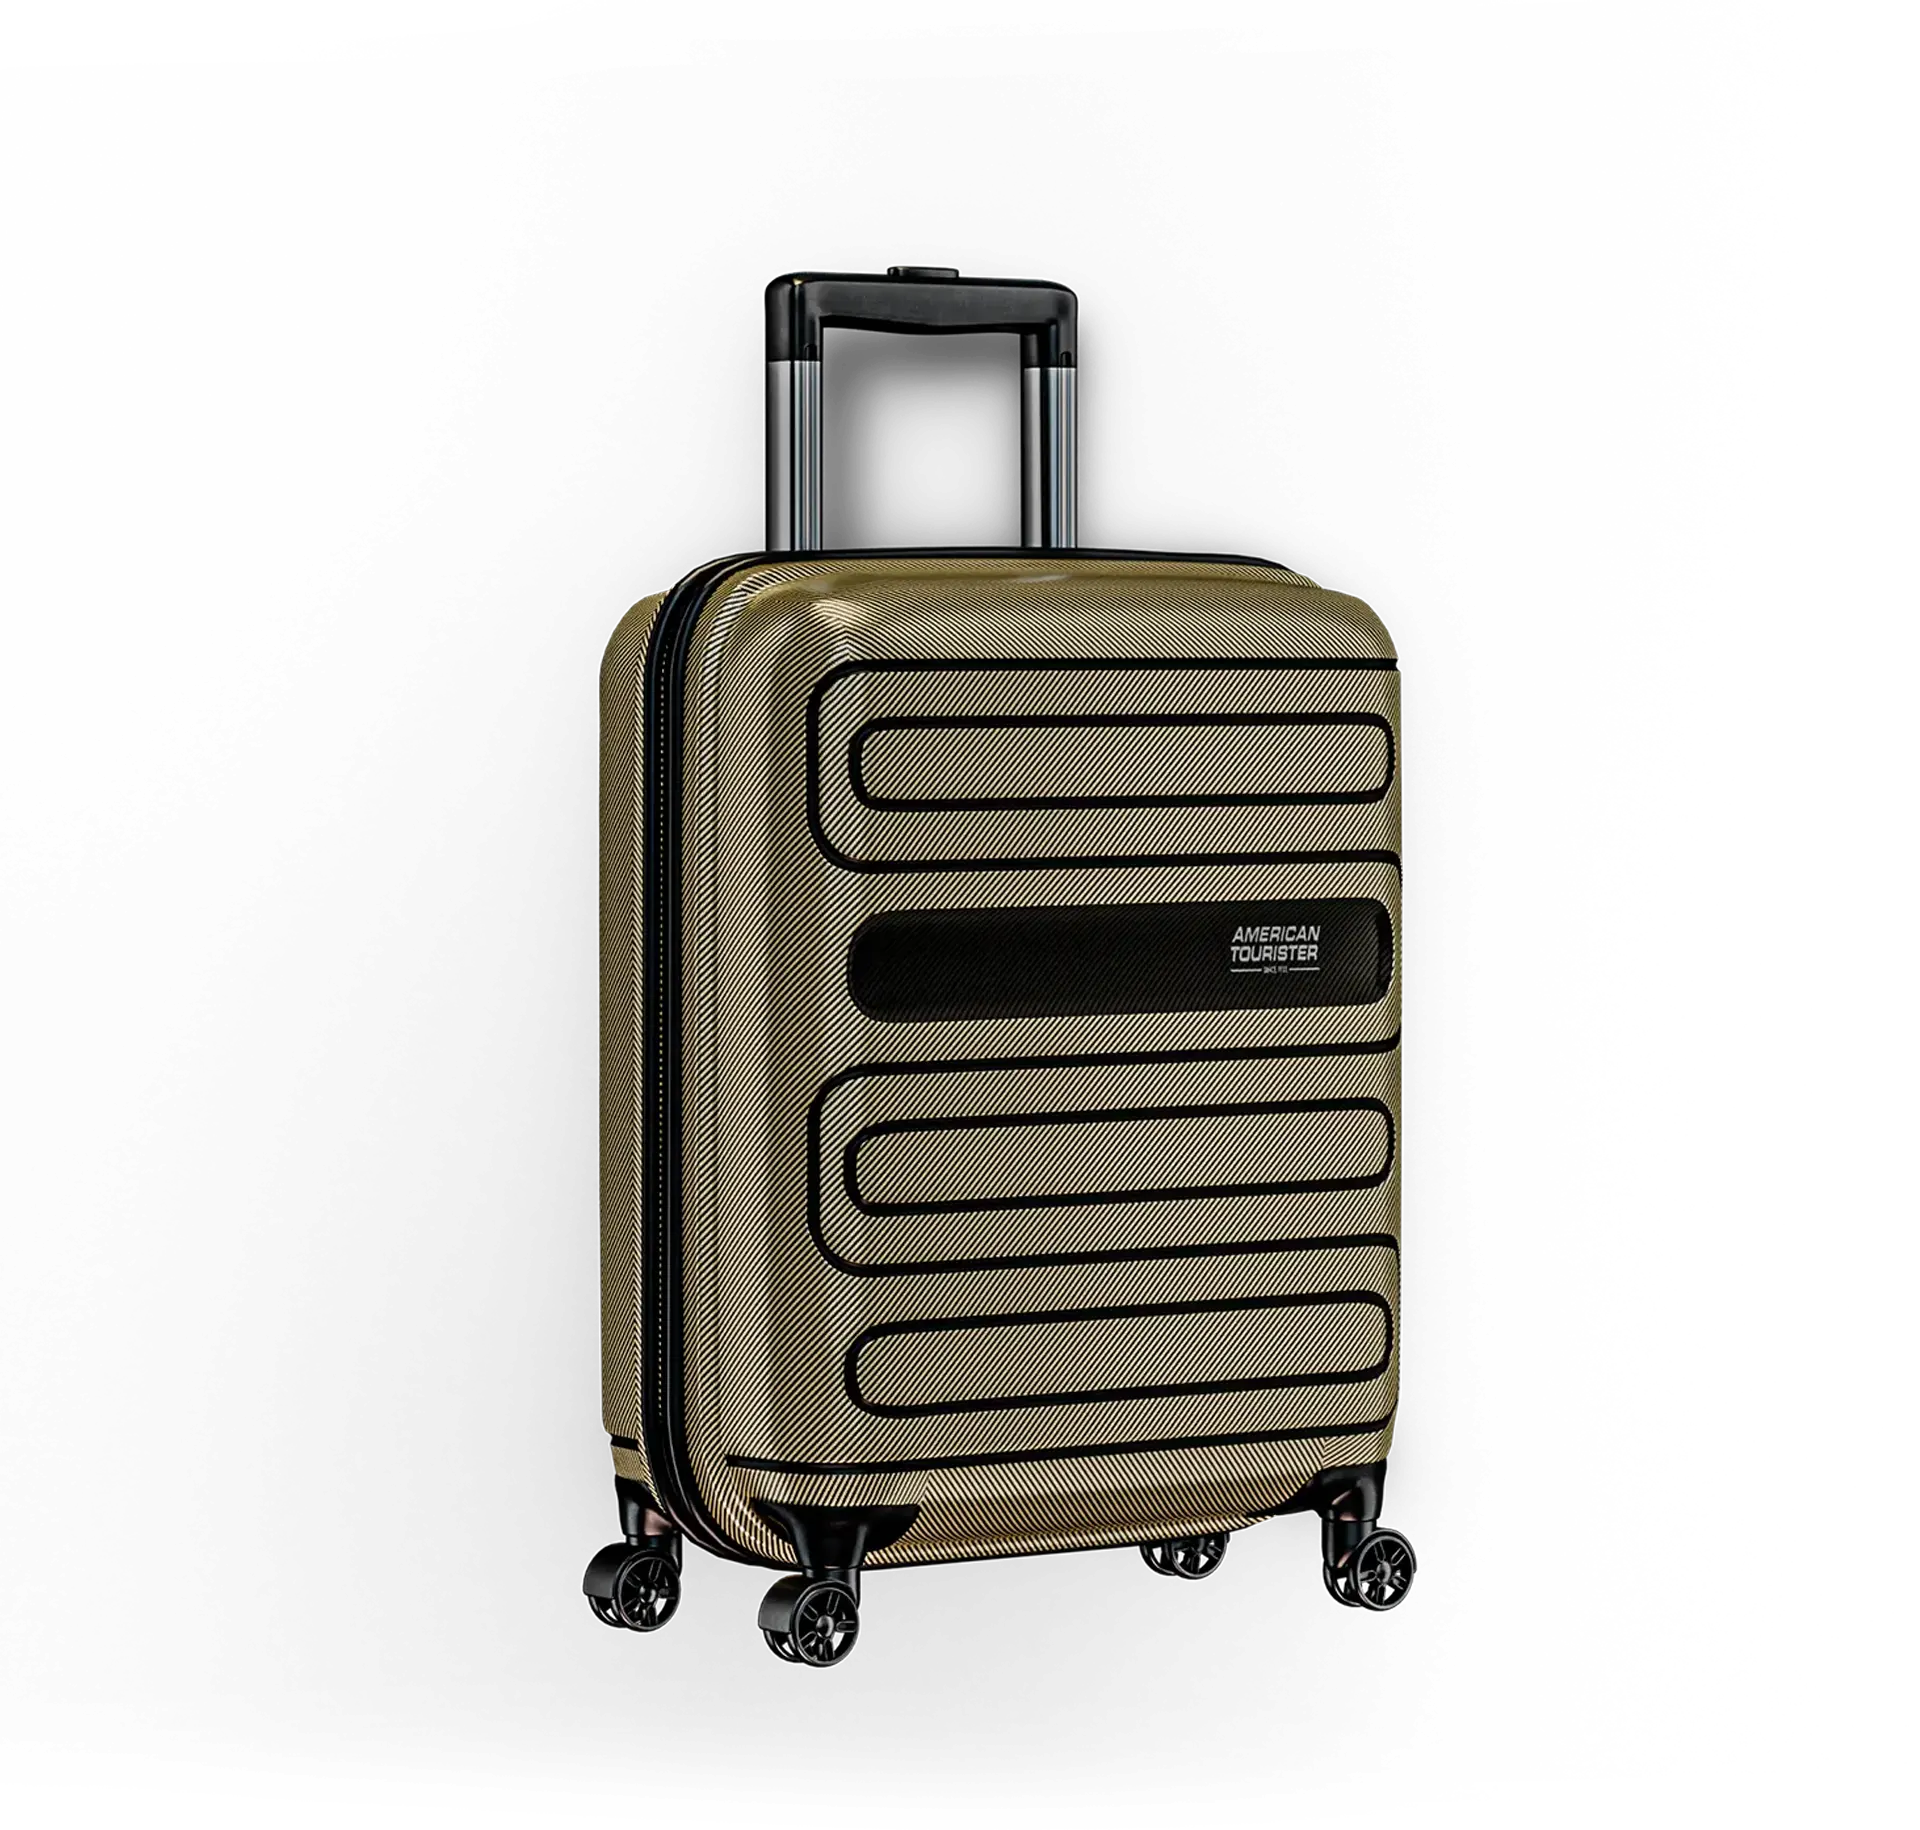
Our Experience in 3D product modeling and furniture modeling ensures correct proportions, material logic, and real-world scale.
Instead of hiding issues under dense meshes, we focus on clean topology and efficient structure. It keeps files lighter, faster, and easier to work with as projects scale.
Products today live across too many platforms to rely on one-off visuals. Our 3D product modeling service focuses on building accurate, structured digital products that brands can reuse across marketing, ecommerce, animation, and emerging technologies. We model with real-world dimensions, material behavior, and surface logic in mind. This ensures your product doesn’t just look correct in one render, but stays consistent across different angles, lighting setups, and use cases.
Let's Talk
Architectural visuals fail when they prioritize aesthetics over clarity. Our architectural visualization services are designed to communicate space, scale, and intent clearly, long before anything is built. We create visualizations that help architects, developers, and real estate teams make decisions faster, secure approvals, and present ideas with confidence. Every scene is grounded in realistic lighting, material accuracy, and spatial logic, so viewers understand the design instinctively.
See More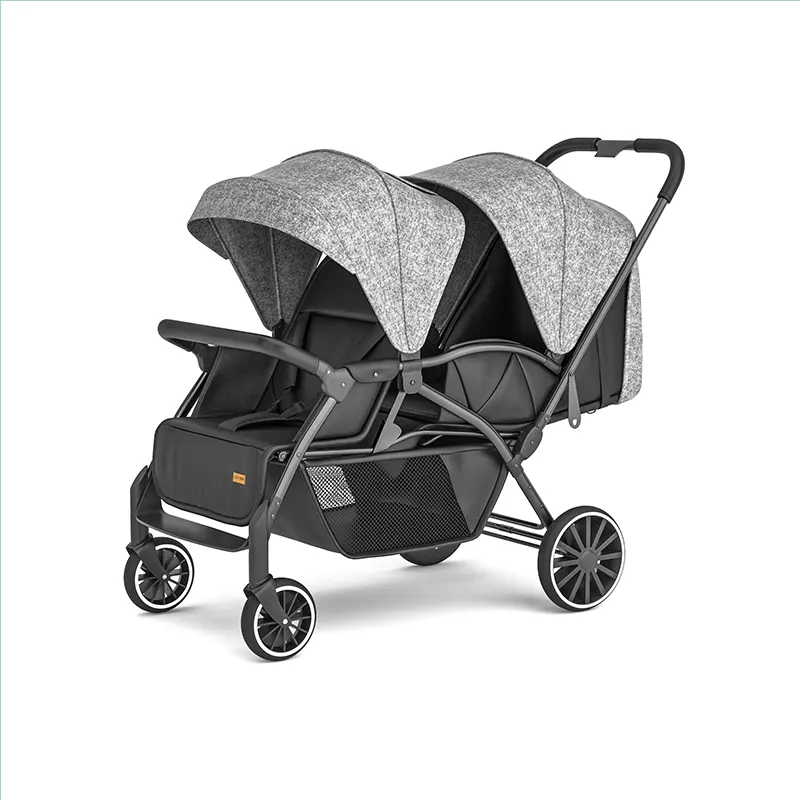
Before something is built, it needs to be seen clearly. This is where strong visualization makes a difference. We turn concepts into detailed visuals that communicate scale, materials, and structure in a way that feels grounded and practical. It helps teams align faster, reduce confusion, and make confident decisions early in the process.
See Example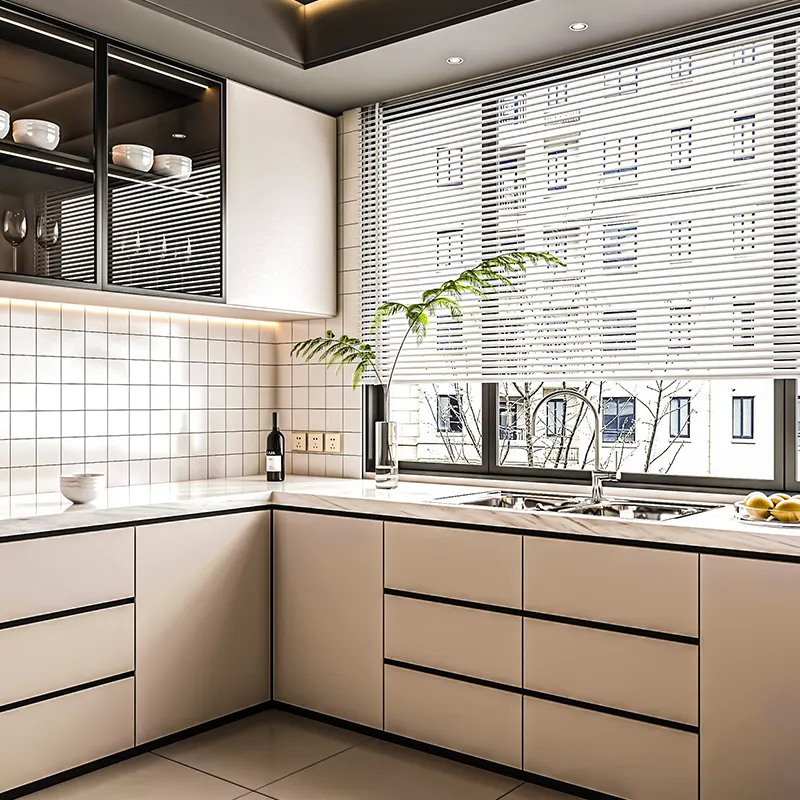
Movement changes how people understand a product or space. With thoughtful 3D animation, we show how things function, interact, and feel in real time. From product demos to walkthroughs, each sequence is built with smooth timing and realistic motion. The focus stays on clarity so viewers grasp the message quickly without being distracted by unnecessary effects.
See More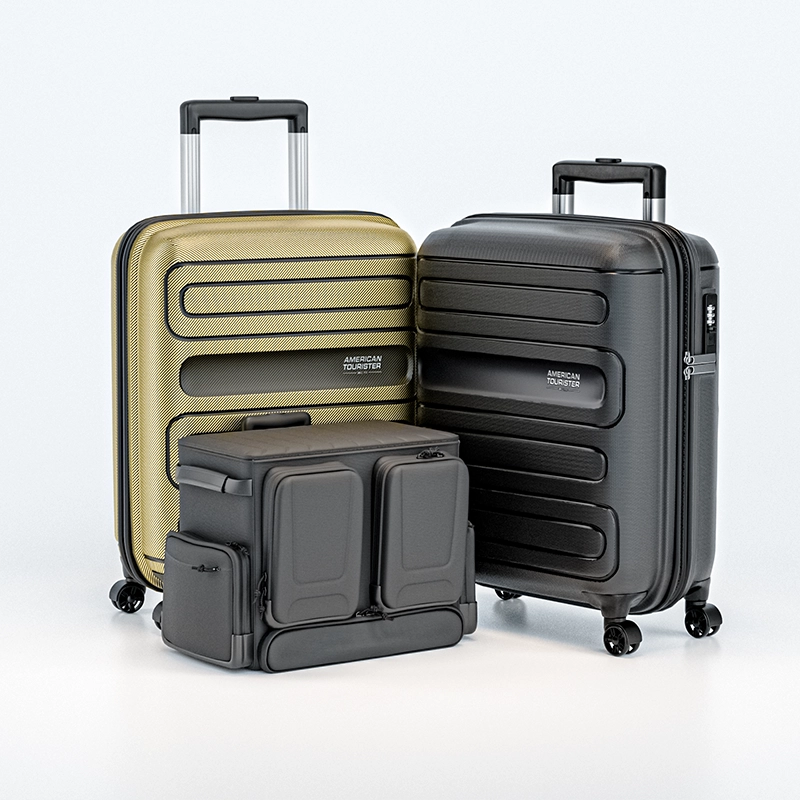
Architectural visuals fail when they prioritize aesthetics over clarity. Our architectural visualization services are designed to communicate space, scale, and intent clearly, long before anything is built. We create visualizations that help architects, developers, and real estate teams make decisions faster, secure approvals, and present ideas with confidence. Every scene is grounded in realistic lighting, material accuracy, and spatial logic, so viewers understand the design instinctively.
See Examples
Most studios optimize for how a model looks in the final render. We optimize for what happens after that render is delivered. A 3D asset rarely lives in one place. It moves between teams, tools, platforms, and timelines. That reality shapes how we work. Every modeling decision we make is grounded in long-term usability, not short-term presentation. Most studios focus on how a model looks. We focus on how it behaves once it leaves our hands.
Get StartedEvery model in our gallery was built for an actual purpose. Some power ecommerce listings. Others support visualization, animation, or digital catalogs. What they all share is one thing: they work beyond a single render.
Free trialIf your current 3D assets don’t scale, it’s time for a different approach. Let us build models that hold up across marketing, visualization, and future needs.
+1 (718) 717 2362CALL NOWOur Valuable Customer Review
Tell us what you’re working on and how you plan to use the 3D assets. Whether it’s for products, furniture, or digital experiences, we’ll guide you toward the right modeling approach. Tell us what you’re working on and how you plan to use the 3D assets. Whether it’s for products, furniture, or digital experiences, we’ll guide you toward the right modeling approach.