![]() +1 929-458-6213
+1 929-458-6213
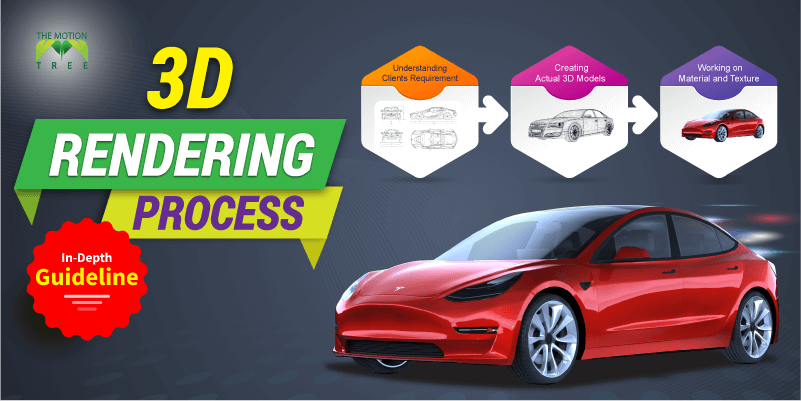
The 3D rendering process is a task where we create 2D images out of a 3D composition. Most of the time, depending on the types of 3D rendering, we develop models within a 3D modeling tool. Afterward, we stage the scene and start getting live rendering. We will explain the whole process in the following article.
To be fair, 3D rendering is a time-consuming process and takes skill to complete. Still, we will present to you the process in the most straightforward manner. Thus, we have simplified a few terms to let you better understand the process. So, let’s have a look at it.
Table of Contents
Toggle3D Rendering Process With In-Detail Steps
The 3D rendering pipeline can change a lot depending on the 3D artist. Yet, we have listed a rough outline of the whole process in simple words. It would help you to grasp the overall idea of the 3D rendering task at once. So, let’s start exploring these steps right now.
Step 1: Understanding Clients Requirement
First step of the 3D rendering project is to understand what your client aims for—your need to get along with their vision. Plus, you need to get the main idea of the clients. In the following section, you should keep listening to the client’s brief with proper concentration.
You could ask for a few reference images to understand the desired output of your client. Once you note down all your client’s requirements, it’s time to get into the planning phase of the rendering projects.
Step 2: Planning Every Steps Of The Project
Now you should plan your 3D rendering projects and each of their steps. It would help you to streamline your rendering projects from start to finish. In the following phase, you try to gather as much information about the project.
Planning every step would help you avoid further complications. For example, you could determine texture, colors, noise, and others in the following phase. With better planning, your rendering project would be more seamless than expected.
Step 3: Creating Actual 3D Models
We create basic shapes to resample the final model at the following step. Once we set up basic shapes, we start customizing all 3D models. Further, we add details to the 3D models to look more natural.
To create CAD-generated 3D models, we use various software. These are 3DS Max, Blender, Cinema 4D, and others. Some software costs a lot, while toolkits like Blender come for free. Therefore, preference for 3D software varies from one 3D model to another.
Step 4: Working on Material and Texture
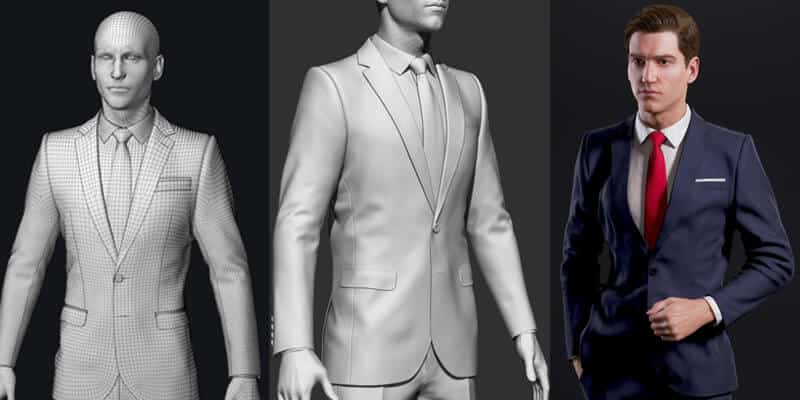
After creating 3D models and surface details, it’s time to add material and texture. To add material, we often put images on the surface. No doubt, the material, and texture of a 3D model determine how the 3D models would look and feel.
In many cases, 3D artists try to create their custom material and texture on the go. Most modelers use Photoshop, Gimp, and 2D drawing software to create custom textures. On the other hand, when modelers don’t have enough time, they use a ready-made template. Thus, the texture can change total render time as well.
Step 5: Setting Up Lighting
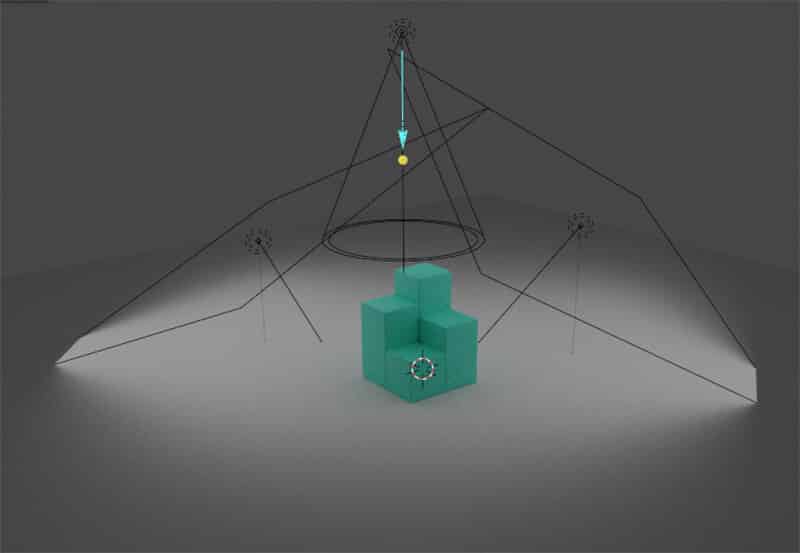
As a final step for rendering, you need to determine the lighting. In general, lighting and shadows can change how your total composition looks. Further, shadow settings such as “Ambient Occlusion” improve the realism of the rendering.
Yet, the lighting and shadows immediately affect the total render time, which is why it’s preferred to optimize the render settings. However, if you need faster rendering, you should take some external 3D rendering services.
Step 6: Post-Processing
Once you complete rendering your scene, it’s time for post-processing the final composition. In the following section, we apply visual effects to make the compositions look good. Plus, we could also improve lighting, color, and white balance.
At the current step, we revise the file as well. We take feedback from the project art director and improve the 3D render output. Before the final handover, we try to match the render close to the client’s requirements.
Step 7: File Handover
We are talking about the render file handover to the prospective client. While sending the files, most of the 3D artists send files in a compressed format. Specifically, the files include the 3D model file and the render output.
Further, it’s better to talk about the resolution of the hardcover file to the client beforehand. Then, once the client agrees upon all the parameters regarding the render files, we send the files to the clients. Either way, most of the file transfer happens on the file-hosting platform.
What Is 3D Rendering Used For?
Talking about 3D rendering usage, it has a lot of uses. To be specific, you could use it as 3D rendering architecture, animation movies, product prototypes, and other projects. Moreover, 3D rendering helps you to conceptualize complex shapes a lot faster. In short, 3D rendering has a lot of uses in all sorts of applications.
Types Of 3d Rendering Projects
You could get to see a lot of types of rendering projects. But, few types are more common than others. For example, 3D exterior, interior, animation, and VR rendering are common in rendering projects. Other than the mentioned rendering projects, you could find CG panoramic rendering as well.
Most of the above-mentioned 3D rendering types are seen in architectural, mechanical, and 3D design prototype testing projects. Nonetheless, you must choose the right rendering type according to your needs.
Let’s light some of the most asked questions on the 3D rendering projects.
Frequently Asked Questions
How Does 3D Rendering Work?
At first, we created 3D models using different software like Blender, Cinema 4D, or Zbrush. Afterward, we use the created 3D models to create realistic 2D images. Finally, in 3D animation renderings, we create video files such as MP4 and others.
How To Composite A 3D Render?
In many cases, we composite 3D renders within the 3D modeling software. We work with different layer passes and other lighting files at the compositing. 3D compositing is a huge part of the animation pipe, and it takes a lot of time and resources to composite a render scene.
How To Reuse 3D Models Within Different Renders?
To reuse 3D models, you could save 3D models as separate 3D files. Afterward, you could import the 3D model’s files into your render files. Once you set up the 3D models into the rendering file, afterward start your rendering process right away.
Conclusion
The 3D rendering process can be challenging to get a grip on. Which is why the following process would help you get deep into the process. Plus, you could get a better understanding of every individual process.
Plus, the rendering process is a tedious and time-consuming task, to begin with. You need to get a basic understanding of 3D modeling, like what is rendering and others. Thus, make sure you discuss it with a 3D artist if you want to know more about it.
Related Posts

