![]() +1 929-458-6213
+1 929-458-6213
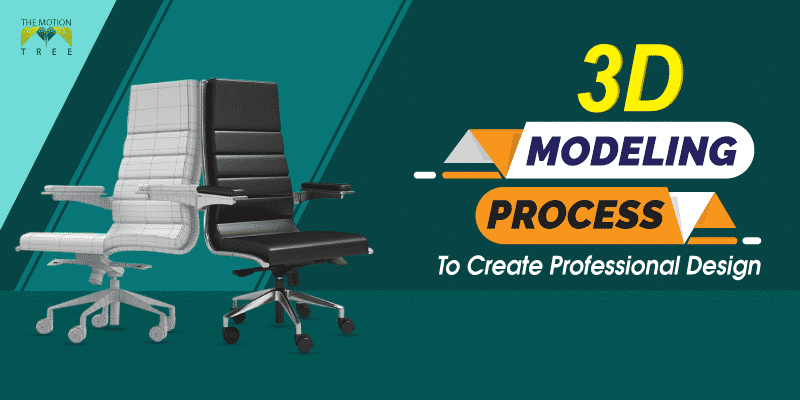
The 3D modeling process can be intimidating to learn for anyone. You have several 3D modeling software with different interfaces and workflow. But if you want to create a professional 3D design that looks stunning, check out our in-detail guidelines. We have featured an ideal process that every 3D artist uses in their modeling projects.
We will go over the basics of the 3D modeling steps, which are useful and easy to get started. It would let you create great compositions on the go. Plus, we will cover additional tips that would let you get an edge on the modeling workflow. So, let’s get in.
Table of Contents
ToggleStep by Step Guide on 3D Modeling Process
Regardless of 3D tools and platforms, the core modeling process is quite the same. Below, we are going over the basic steps of 3D modeling for beginners to create a professional design. It’s the fast and reliable method to start getting great 3D objects a lot faster.
Get Blueprint Or Create Sketch
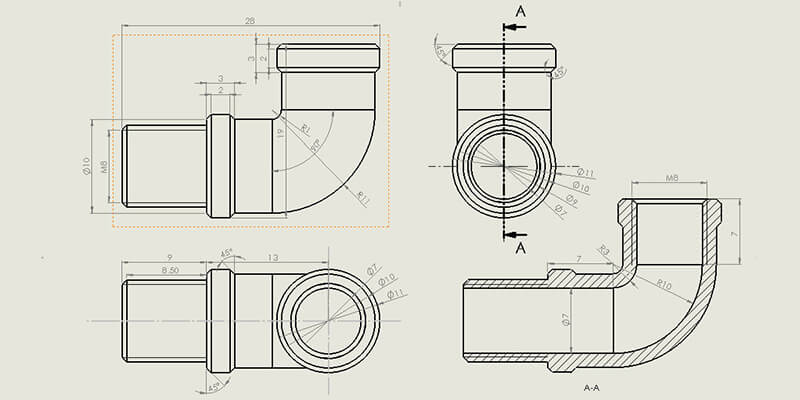
The first part of the 3D design starts with a blueprint or rough sketch of the design you are going to create. On the other hand, we are talking about the initial brief. A precise blueprint, sketches, and brief of the design will make the process a lot smoother.
Further, the blueprint would work as a solid guideline while creating 3D models. Most of the 3D modelers use a blueprint with accurate unit measurements.
Suppose you could not get a CAD drawing of the model. You may want to create a rough sketch with your hand. For example, if you want to model 3D characters, having sketches would be a lot helpful. Sketches are always important while creating organic 3D models.
In case you want to create real-life objects, gather some images and measurements of the object. It would have a strong reference while working on a 3D modeling program.
Start Building Basic Blocks
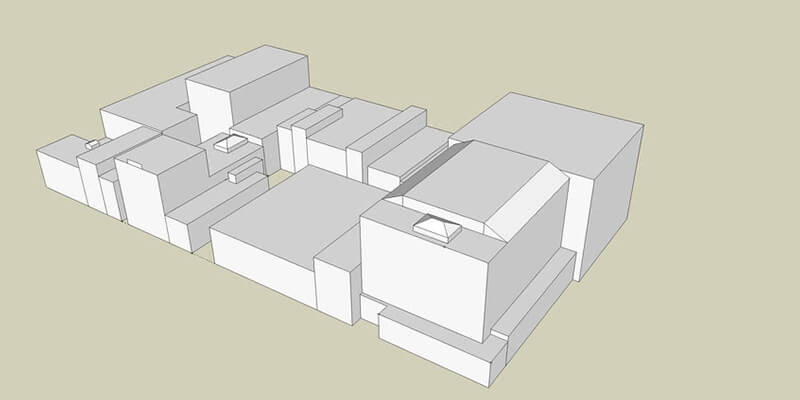
In the following phase, a professional 3D modeler starts creating basic blocks resembling the final output. Modelers use basic geometry shapes like cubes, rectangles, cylinders, and others. The aim is to match the size, angle, and position to start adding details.
Setting up the basic blocks according to the blueprint would fasten up the modeling process in 3D tools. The basic geometry shapes only use simple points and vertices to make the initial concept come alive faster.
Customizing Basic 3D Objects
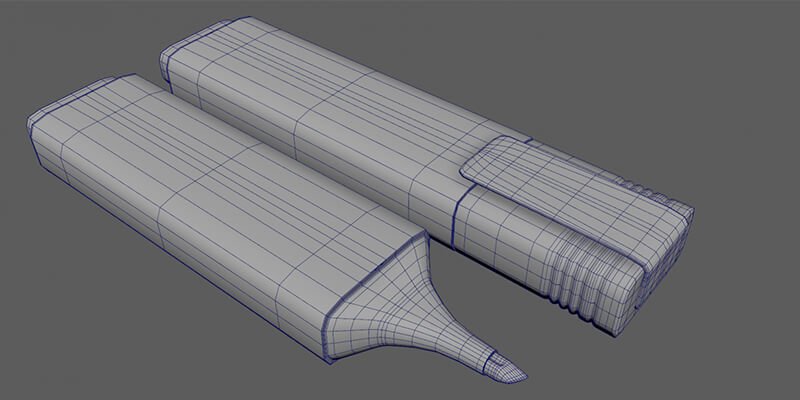
Now it’s time to customize the basic blocks and increase their edges and vertices. You could bend, divide and further customize the shape to make it more like the final output. In most of the 3D modeling software, you would get shape customization features.
While customizing the basic 3D shapes, make sure you have saved the file into your computer hard drive. Otherwise, your customization won’t get saved at all.
Customizing 3D objects makes sure your shape has fewer vertices, edges, and faces on its mesh. To make the shape detail lessers are lesser, and you could try out the retopology process.
Either way, making object polygons clean and lesser would be beneficial for later usage. As the models contain less polygon, it would use fewer resources to render.
As a result, anyone can use your 3D model on video games, motion graphics quite easily.
Solving out the topology issue and making the shape simpler would let the 3D designer optimize the file size as well.
Add Texture and Details
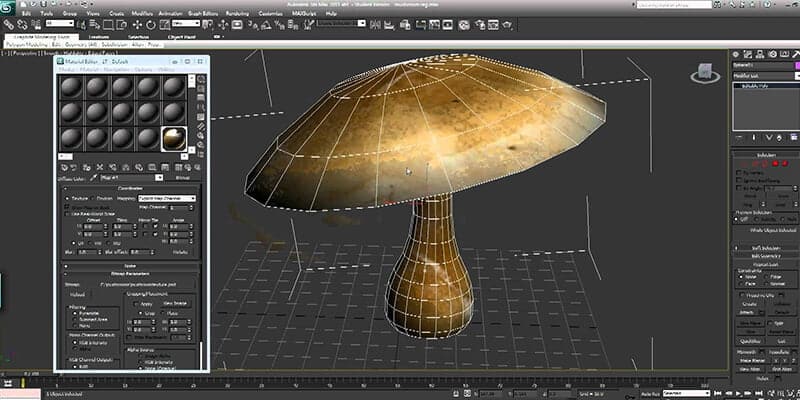
Once the 3D model gets its final shape, now it’s time to texture. Most professional 3D artists create natural-looking textures to point over the model surface. Softwares like Photoshop, GIMP help create custom textures.
As an option, 3D modelers use ready-made textures to apply to their model. Platforms like Texures.com provide ready-made textures to download and apply on the 3D model.
Experienced 3D modelers create procedural textures and details using built-in nodes. It lets anyone get natural-looking textures and alter them when needed. The procedural 3D texture can create countless numbers of details with a slight adjustment.
In a few projects, you may have to capture real-life high-resolution texture images. You could apply these images on your 3D model surface with a few blending options to make it look real.
Setup Lighting
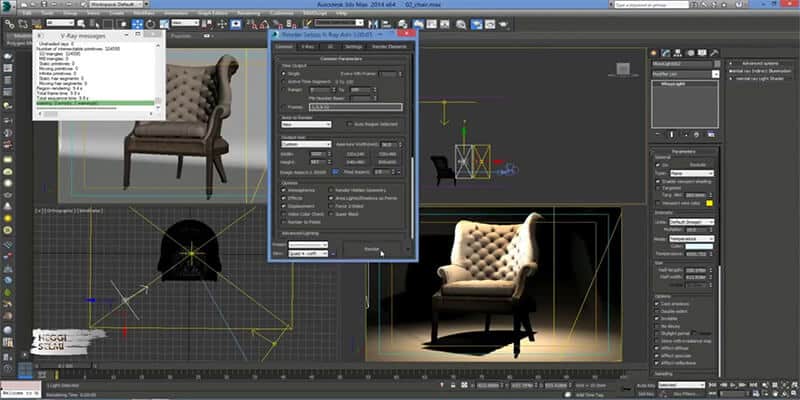
Completed the texturing and surface detail of your model? Now explore the lighting setup. You could use various lighting options and intensity to make the model and the whole composition look good.
You could experiment with different lighting steps to check how your model appears. Most of the time, 3-point lighting for 3D modeling would give you great composition. Once you find out the best lighting for your model, you can start working on the next step.
Start Rendering
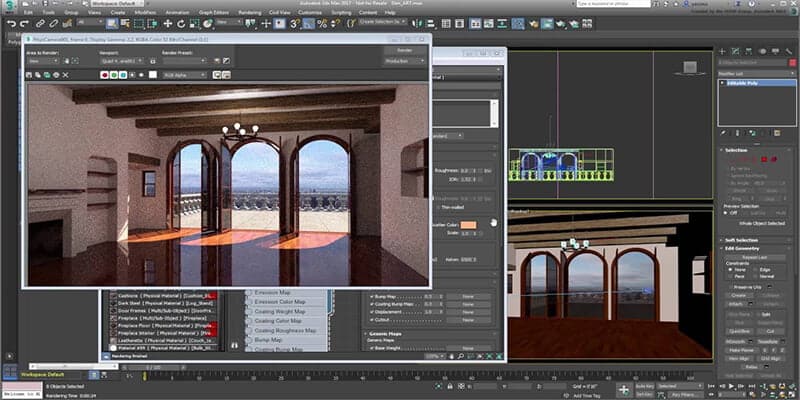
When your model and the lighting are all in place, now you can start rendering the model. It’s better to know, 3D rendering is an intensive task and can take long hours to complete. This is why you want to make everything perfect before pressing the render button.
Most of the 3D modelers optimize their model and settings to get faster rendering. Optimizing the 3D file and render setting can cut the completion time by up to half.
As a best practice, you should render the final output in low resolution at first. It would let you get a glimpse of rendered output. So you get to revise the final 3D modeling output faster and make necessary changes.
Plus, you may want to render your 3D model in a third-party render engine to get better quality. But most of the time, the built-in render engine of 3D software is enough to get decent output.
Post Production
After finishing the rendering process, you could put the final output under post-production. Many 3D tools offer you basic post-production features within their interface. Though, you could use software like Photoshop to retouch images of your 3D model.
If you want to enhance the video of your 3D model, most of the 3D software provides you with basic editing functions. If you’re going to use third-party software for special effects, The Adobe Premiere Pro would be great for it.
Nonetheless, post-production becomes essential when you want to apply a realistic vibe to your 3D model’s output. It can make your 3D composition look more exceptional than others.
Professional 3D artists always use post-production techniques on their projects. And you must do so.
Frequently Asked Questions
What Is 3D Modeling Used For?
When you get to know how 3D modeling works, you can see limitless usage. For example, we use 3D models in engineering projects, product designing, prototyping, animation movies, physics simulation, and others. The application of 3D models is growing with each passing day.
What Are The Types Of 3D Modeling?
You will discover many types of 3D modeling projects as you explore. Perhaps, few of the prominent 3D modeling types are organic, hard surface, low poly modeling, and sculpting. Either you are a beginner or professional 3D artist, most probably you are busy with any of the mentioned modeling projects.
How Long Does It Take To Make A 3D Model?
If you are working on simpler 3D models, then it could take a few hours. On the other hand, working on complex objects like buildings and cars can take at least 50 hours. On the other hand, top-class movie and gaming poster 3D composition will take months to complete.
Conclusion
Above, we have covered the core 3D modeling process to get a professional design. The ideal modeling process stays the same whether you are using Maya, Blender, or Cinema 4D. So, follow the tutorial to create perfect 3D models that look and work great all the time.
Thus, if you are starting in the world of modeling, make sure you learn how to edit 3D objects. It’s the main task that determines how your final rendered composition will look into the final rendering. Most of all, keep practicing on the 3D software to master the modeling workflow.
Related Posts

