![]() +1 929-458-6213
+1 929-458-6213
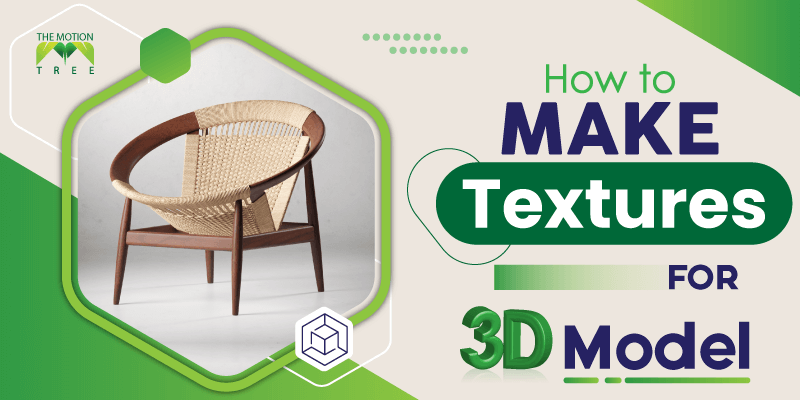
Creating textures for 3D models is more seamless than most people thought. Today we will uncover how to make textures for 3D models. All of the 3D artists use below mentioned ways to create professional-grade textures. You must follow these as well to get better textures.
3D modeling software offers several ways to create textures. Even if you fall short, plenty of 2D tools like Photoshop and Gimp can help as well. Further, when 2D tools limit your creativity, real-world photographs and drawing are available to use alongside. Let’s get deep into the ways to create textures for your 3D model.
Table of Contents
ToggleBest Ways on How to Make Textures for 3D Models
You have different ways to create 3D textures for your 3D Models. Below we are going over the easiest ways to create textures for 3D models. Following any of them would give you great textures, depending on your experience and skill set. Let’s get into it right now.
1. Create with Photoshop
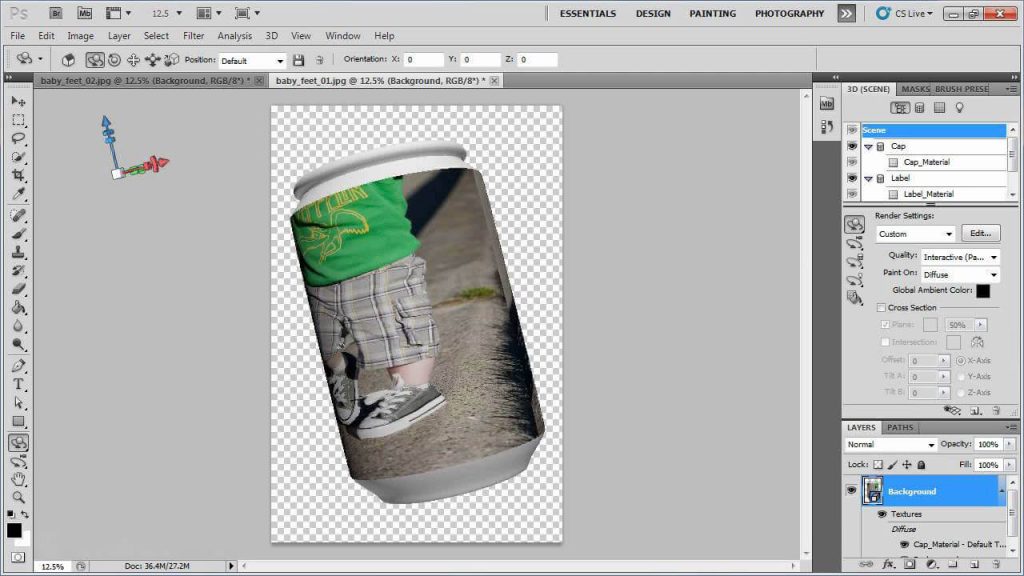
With UV mapping of the 3D models, you could apply 2D graphics. To create 2D graphics, you could use Photoshop. It’s one of the best software to create textures for 3D models. It offers you a great sort of feathers to create textures. The tools and functionalities are easy to create as well.
For example, to create a new texture, you need to create a new artwork in Photoshop. Afterward, you could create custom graphics using different tools. You could use UV overlays of your 3D object to better understand how your texture would get applied to your models.
2. Create Using Blender
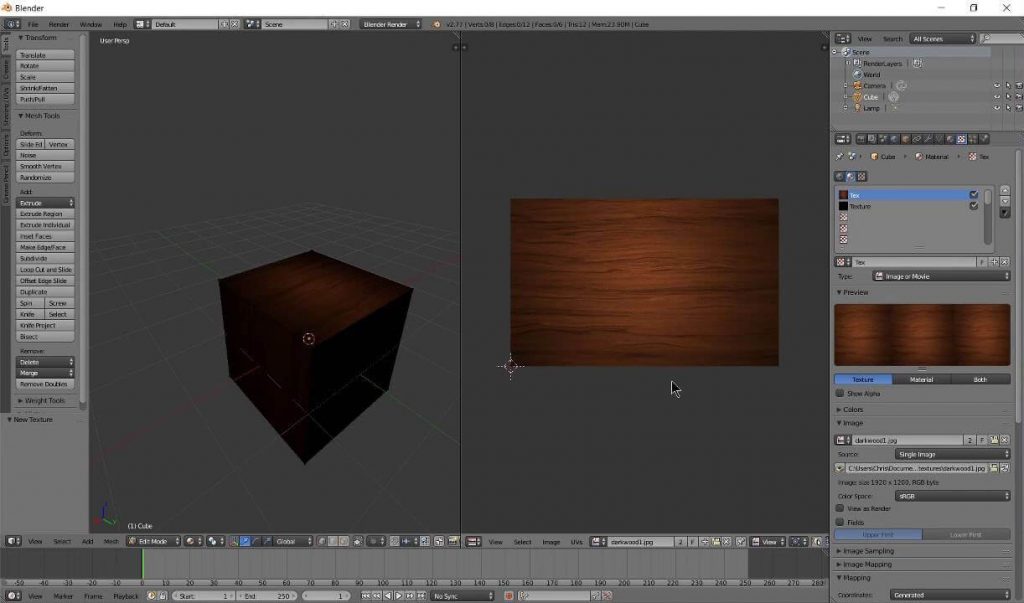
Another cool way to create textures for 3D models is to use Blender. When you know how to make textures in Blender, it would be a lot more feasible for you. Or you could export the 3D models into the blender to create textures. To create texture, you could use Blender nodes as well.
Using a blender compositor panel, you could create and customize the texture of selected 3D models. The compositor window uses a node interface which is very helpful to get customized output. But, you have to learn the basics of the node system in order to make textures.
3. Procedural Texturing
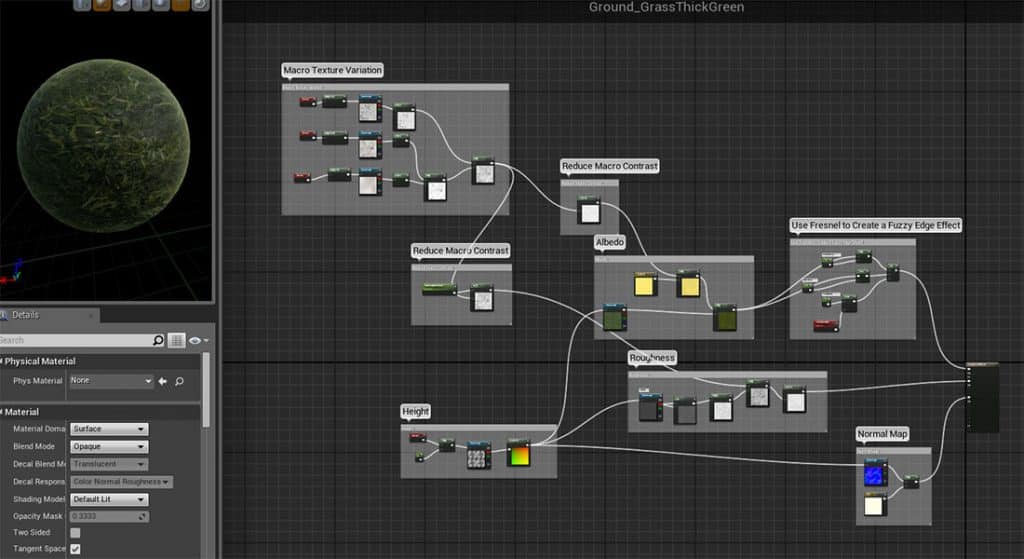
In short, procedural texturing gets generated with mathematical formulas. It’s often the lightweight solution to texturing as you don’t have to store the actual image. You could create procedural texturing with your application’s built-in node system. Or you could install an external extension to create procedural texturing.
Further, creating procedural textures takes high-end skills to learn. The best part of the procedural texture is it’s not bound to any resolution. As a result, you could create countless variations of the same texture with a slight adjustment. In short, that’s how you could create procedural textures.
4. With Real Life Photographs
You could create great-looking textures using real photographs. For example, anyone can capture a wood surface to create any 3D model texture which represents wood material. In fact, the new-age 3D tool offers you the option to apply real-life texture and create realistic surfaces. But, to create proper 3D model textures, you need to photograph the right surface.
First, check out your 3D object’s surface. For example, if you want to create a rusted hammer, you need to picture wood for the hammer handle and the steel for the upper part of it. After you capture the real-life surface images, import them into your software. Then apply the images as a texture using the UV mapping technique.
5. Use Hand Drawings
As a last option, you could use hand-drawn painting on your 3D models. First, you need to create a hand-drawn painting on paper. Afterward, you need to scan the paper into your computer device. Then you need to import it into your 3D tool. As with the photograph, you could use UV mapping to place the hand-drawn image.
Software such as Blender offers you great features to paint textures on 3D objects. Use these kinds of features to accurately paint the drawings to your 3D objects. One thing to remember, your hand-drawn painting should be of better quality to make your objects look more realistic.
How To Make Textures For Games Assets
Making textures for 3D assets takes a certain process to complete, and it’s a lot of time to get to its finalization. For example, at first, you need to UV unwrap your gaming assets to start the texturing process. Afterward, you need to map and bake your 3D model to get a proper understanding of the texture.
Afterward, you could directly paste the texture into the 3D assets of your game. Or you could use software like Blender to start painting on the surface of 3D objects. Either way, make sure you use the proper texturing technique. For instance, you need to create separate textures for intricate models like character and environment texture designs.
Types of Textures to use on 3D Models
When anyone starts creating textures, they need to either work on any of the following textures. In short, you have two types of textures to work on. The first one is static, and another one is surface texturing. Let’s explore these in a bit.
Static Texturing
At static texturing, you only have to create a 2D texture to paint on an existing 3D object. These sorts of textures only contain the info of the texture image. On these sorts of textures, you won’t get any variations on the surface of the 3D model at all.
Surface Texturing
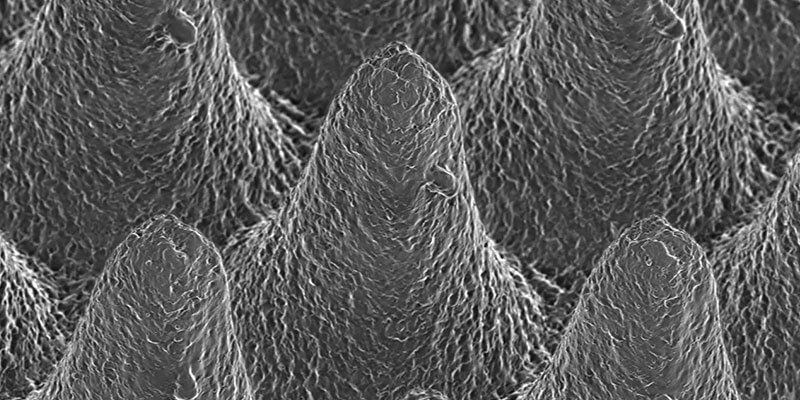
On surface texturing, you get to apply variations on the surface of any 3D model. But it’s better to understand that making surface texturing takes a lot of time and resources. As surface texturing takes a higher amount of polygon, the processing computer device must have a higher configuration as well. A lot of renowned 3d model texturing software offers you great surface texturing features to use.
Frequently Asked Questions
Blender offers you a lot of ways to apply textures. The best way is to use the shading tab. Via the shading tab, drag and drop the image to the bottom part of the tab. Afterward, connect the new image dot to the “Base color” dot into the “Principled BSDF” set.
As a free texture library, you could use “Textures.com” for your 3D projects. In addition, Quixel Megascans and Texturer.com are great free-to-use texture libraries. Anyone could download and apply these textures to their 3D models right away.
You need to bake a diffuse map onto a mesh surface. Achieving these kinds of effects is a lot easier with the help of UV maps. After you create a diffuse map, apply it to your 3D model surface. One thing to remember, the following mesh texture might create higher numbers of polygons and meshes.
Conclusion
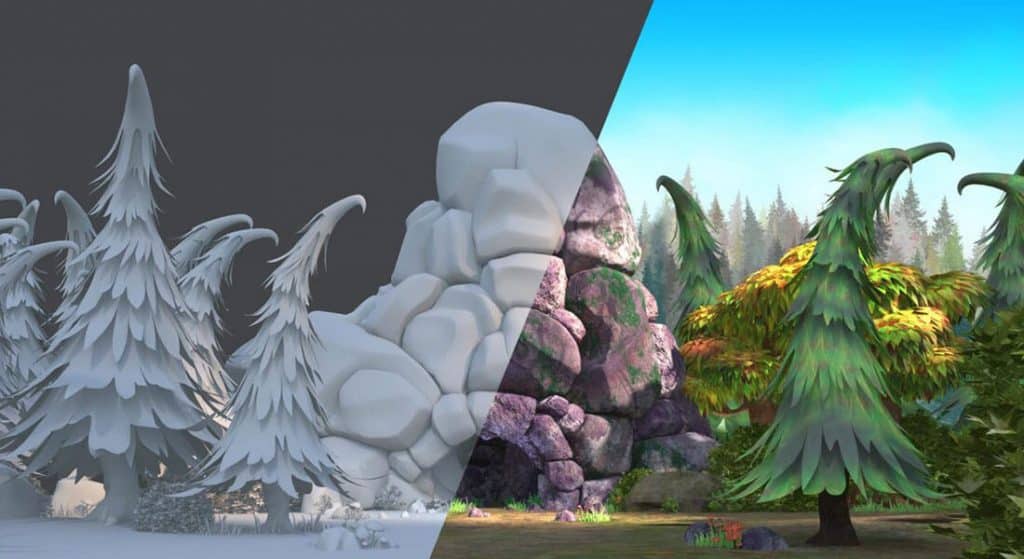
In the end, we all would agree to learning how to make textures for 3d models is a lot more important because texturing gives your 3D model a realistic look. Other than textures, 3D models are only full white-colored surfaces. Creating a perfect texture can lead you to a perfect 3D render which looks good.
No matter which process you follow for 3D object texture, make sure it looks good. Further, the texture image you will use must be in higher resolution. Otherwise, it might get blurred due to the bigger dimension of your 3D model surface. In short, plan each step before starting the texturing process.
Related Posts

